

This trailer inspection guide explains when Australian trailer owners should arrange an inspection, roadworthy check or workshop assessment. Inspect before registration, sale, heavy work use, long trips, visible damage, poor towing behaviour or after months of storage.
For tradies, contractors, landscapers, farmers, vehicle owners and small business operators, a trailer is not just something sitting behind the ute. It carries tools, machinery, materials, green waste, stock equipment, cars, parts and weekend loads that can affect safety, downtime and compliance.
Use this trailer inspection guide to decide when a quick walk-around is enough, when a workshop should look deeper and when a trailer roadworthy check may be needed before registration, transfer, sale or continued road use.
Key takeaways
- A trailer should be inspected before purchase, registration, heavy work use, long trips, after storage and whenever it starts towing differently.
- A workshop inspection and a roadworthy certificate are not the same thing.
- Brakes, bearings, tyres, lights, coupling, safety chains, drawbar, suspension and chassis condition are the big-ticket safety areas.
- Commercial trailers need more frequent checks because downtime can cost more than planned maintenance.
- Do not tow if you suspect a serious brake, bearing, wheel, coupling, tyre or structural fault.
- Keep repair records, parts invoices and inspection notes for resale, fleet management and future fault diagnosis.
When does a trailer need an inspection in Australia?
A trailer needs an inspection when it is bought, used, registered, modified, used commercially, stored for months, damaged, overloaded, towing poorly or showing faults. Heavy work trailers should also be inspected before peak use or long trips.
For a homeowner, that might mean checking a box trailer before a big move or tip run. For a landscaper, it might mean inspecting a tipper before spring clean-up season. For a farmer, it might mean looking over the trailer before harvest, fencing work or livestock-related transport.
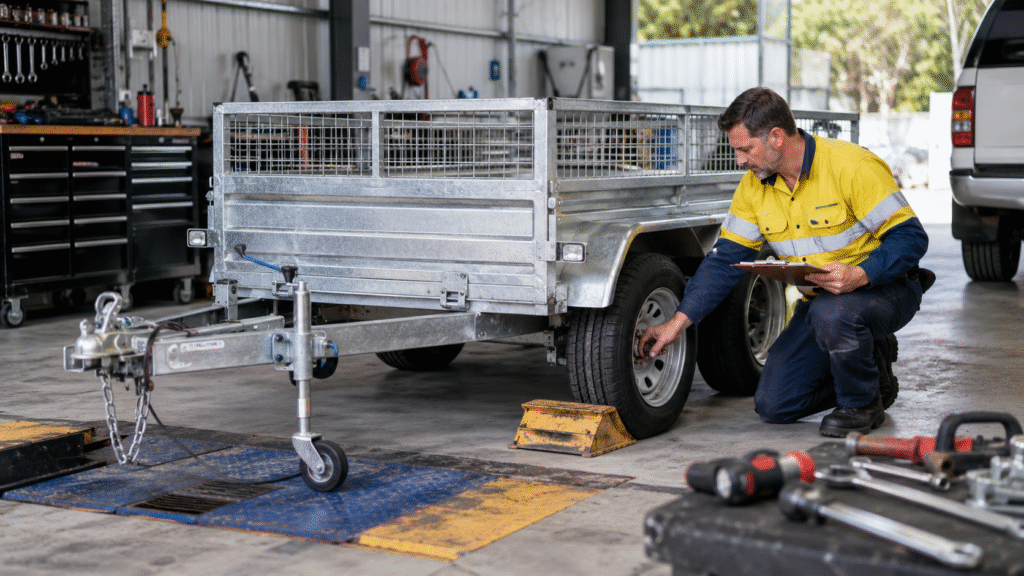
According to the Department of Infrastructure’s Vehicle Standards Bulletin 1, known as VSB 1, trailers with an aggregate trailer mass of 4.5 tonnes or less are expected to comply with applicable Australian Design Rules. That matters because an inspection is not only about whether the trailer “looks fine”; it is also about braking, lights, tyres, coupling, drawbar, safety chains and road-use condition.
Inspection trigger table
Situation | What to do | Why it matters |
Buying a used trailer | Inspect before payment | Hidden brake, bearing, rust or wiring faults can change the true cost |
Selling or transferring registration | Check state roadworthy rules | Requirements vary by state and situation |
First registration or re-registration | Arrange the required inspection process | Identity, construction and road-use items may need checking |
After a crash, impact or overload | Stop and inspect before reuse | Drawbar, chassis, axle and suspension damage may not be obvious |
After long storage | Inspect tyres, bearings, brakes and wiring | Stored trailers can develop flat spots, corrosion and seized parts |
Before heavy commercial use | Book a workshop inspection | Business downtime can cost more than planned maintenance |
Before interstate or long-distance towing | Check road-use condition and load restraint | Heat, speed and distance expose weak components quickly |
After modification | Confirm compliance implications | Brakes, dimensions, lights, coupling or structure may be affected |
A small domestic trailer used twice a year may only need a quick owner check before each trip and scheduled maintenance based on condition. A tradesman, plant, farm, car carrier or hydraulic tipper trailer works harder. It deserves a more disciplined inspection rhythm.
What is the difference between a workshop inspection and a trailer roadworthy check?
A workshop inspection finds mechanical, electrical, structural and safety faults. A trailer roadworthy check is a formal inspection for whether the trailer meets minimum road-use requirements at that time, usually through an authorised tester or registration process.
In simple terms, a workshop inspection helps you understand condition. A roadworthy check helps confirm whether the trailer meets a formal road-use standard for a specific purpose. They can overlap, but they are not identical.
According to Transport Victoria’s roadworthy certificate guidance, a roadworthy inspection checks key safety-related parts such as wheels and tyres, suspension, brakes, lights, reflectors and vehicle structure. Transport Victoria also explains that a roadworthy certificate shows current road-use safety but does not guarantee mechanical reliability or overall vehicle condition.
Check type | Main purpose | Typical use |
Owner pre-trip check | Spot obvious faults before towing | Before every tow |
Workshop inspection | Diagnose wear, damage or unsafe operation | Before heavy use, after faults, before repairs |
Pre-purchase inspection | Decide whether a trailer is worth buying | Used trailer purchase |
Pre-registration inspection | Support state registration process | First registration or re-registration |
Trailer roadworthy check | Confirm minimum road-use safety condition | Sale, transfer or registration situations where required |
Engineering or modification assessment | Confirm whether a change affects compliance | Structural changes, major modifications, custom work |
If you are unsure which one applies, start by asking what the inspection must achieve. Are you trying to diagnose a brake issue? Prepare for registration? Buy a used trailer? Sell a trailer? Clear a defect? Each purpose can require a different pathway.
How does this trailer inspection guide help before every towing trip?
A good trailer inspection guide separates simple owner checks from workshop checks. Before towing, you should confirm the coupling, chains, tyres, lights, brakes, registration plate, load restraint and obvious structural condition, then stop if anything looks unsafe.
The goal is not to turn every owner into a mechanic. It is to catch obvious problems early enough that you do not discover them at 90 km/h with a loaded trailer behind you.
10-minute pre-trip inspection process
- Park on level ground and walk around the trailer: you are looking for obvious leaning, sagging, tyre damage, loose panels, broken latches or anything that changed since the last trip.
- Check the coupling is fully seated and locked: the connection must stay secure through braking, bumps, corners and reversing.
- Attach safety chains correctly: chains should be in good condition, connected to rated points and not dragging on the road.
- Test tail lights, brake lights and indicators: another person watching from behind is faster and safer than guessing from the cab.
- Inspect tyres, wheels and visible wheel nuts: underinflated tyres, cracks, bulges, uneven wear or loose hardware can become a roadside failure.
- Check brakes if fitted: poor braking, grabbing, delayed response or warning lights from the brake controller need attention before towing.
- Secure ramps, cages, tailgates, toolboxes and lids: a loose latch can become a hazard for traffic behind you.
- Confirm the load is restrained and visible items are legal: loose tools, mulch, scrap, ladders, machinery and project vehicles all need suitable restraint.
- Recheck after the first 10 to 20 kilometres: straps, hubs, tyres and couplings often reveal issues once the trailer warms up.
According to the National Transport Commission’s Load Restraint Guide for Light Vehicles, a light-vehicle load must be properly restrained, must not overhang dangerously, must not exceed mass limits and must not cover lights, indicators, reflectors or the number plate. That means load restraint is part of inspection, not a separate afterthought.
Realistic scenario: the Monday morning trade run
A contractor loads a tandem trailer with tools, a compressor, ladders and leftover materials from the previous job. The trailer looks normal at a glance, so the crew leaves quickly.
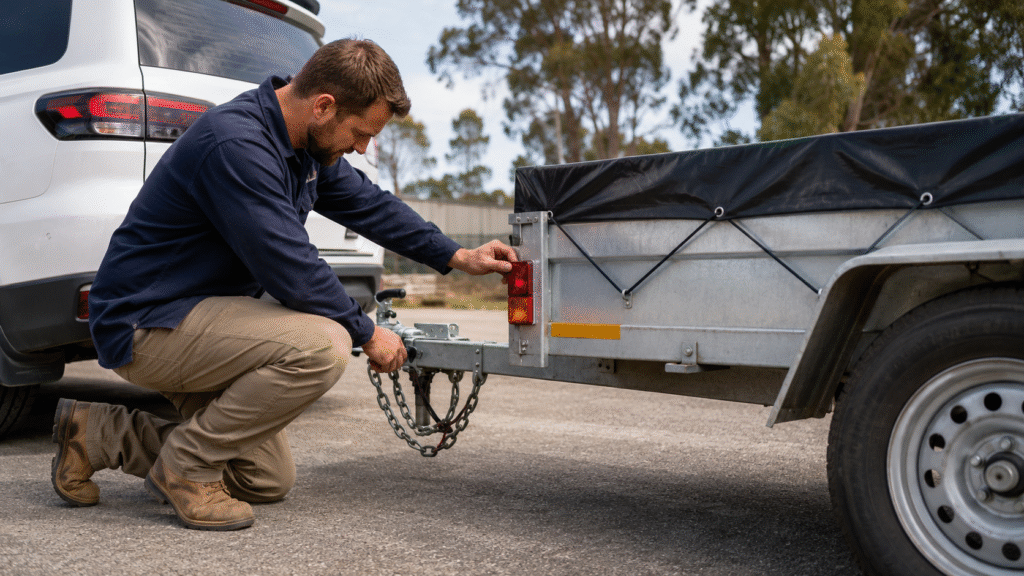
The risk is in the small details: one flickering indicator, one underinflated tyre, one toolbox latch not closed properly and one ladder tied down with the wrong restraint. None of those issues feels dramatic in the driveway. Together, they can create a serious workday problem.
The safer version is simple: inspect before leaving, secure each load type separately and recheck after the first short drive.
What parts should a professional trailer inspection cover?
A professional inspection should cover the running gear, braking system, coupling, drawbar, safety chains, wiring, lights, wheels, tyres, chassis, suspension, load-restraint points, ramps, latches and any previous modifications that may affect road safety or compliance under real towing conditions.
A trailer is a connected system. A tyre issue can point to axle alignment. A brake issue can be linked to wiring. A cracked drawbar can be connected to overloading, poor load distribution or earlier repairs.
According to VSB 1 from the Department of Infrastructure, braking requirements are specified by gross trailer mass. Trailers over 750 kg GTM need an efficient service braking system, while trailers over 2,000 kg GTM require brakes operating on all wheels and an emergency breakaway system that applies the brakes if the trailer disconnects.
Transport Tasmania’s light trailer inspection preparation guidance also reinforces a practical point for owners: tyres, suspension, coupling, safety chains, lights, reflectors, guards, brakes and identification details should be checked before presenting a trailer for inspection.
Professional inspection checklist
Area | What the workshop checks | Common warning signs |
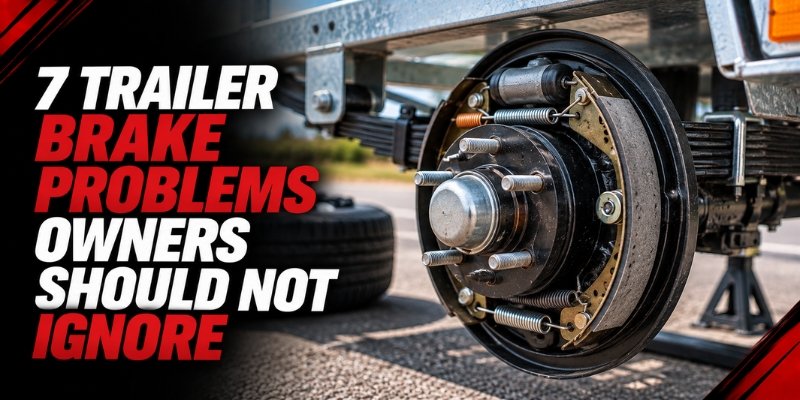
Brakes | Electric, mechanical or hydraulic operation | Pulling, weak braking, grabbing, noise, heat |
Bearings and hubs | Play, grease condition, seals and heat | Rumbling, wobble, grease leakage, hot hubs |
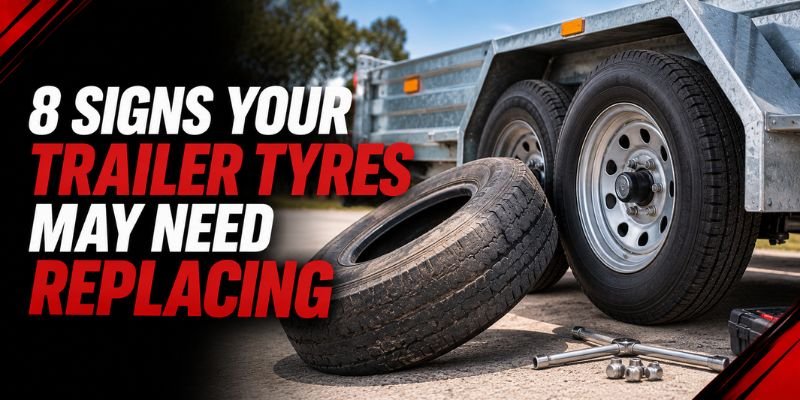
Tyres and wheels | Pressure, tread, cracking, load rating, wear pattern | Uneven wear, bulges, sidewall cracks |
Coupling | Locking action, wear, adjustment and rating | Loose fit, stiff latch, visible damage |
Safety chains | Rating, condition, attachment points | Drag marks, rust, damaged links |
Drawbar and chassis | Cracks, bends, corrosion and weld condition | Fresh rust lines, movement, visible cracking |
Suspension and axles | Springs, U-bolts, hangers, bushes and alignment | Leaning, poor tracking, tyre scrub |
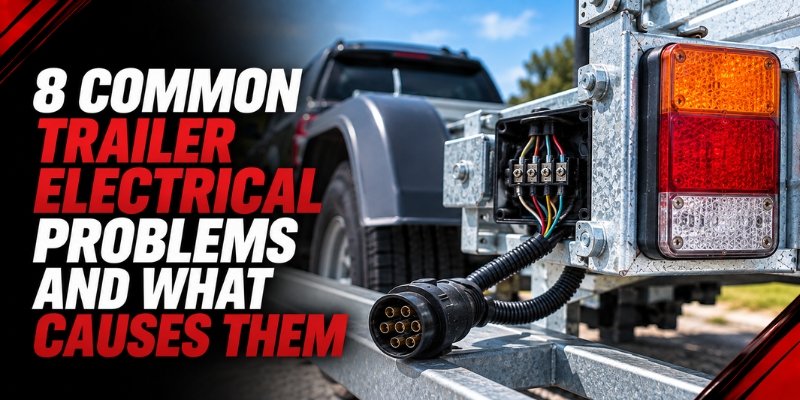
Lights and wiring | Plug, earth, wiring, indicators and brake lights | Flickering lights, failed globes, corrosion |
Ramps and latches | Hinges, pins, locks and load rating | Loose ramps, bent pins, hard operation |
Load-restraint points | Tie-down points, racks, cages and floors | Loose hooks, weak mounts, damaged floor |
Halco’s Warragul workshop can inspect visible trailer systems and identify faults that may require servicing, repair or further specialist assessment. Its repairs and servicing page lists brakes, bearings, axles, suspension, tyres, wheels, coupling, chains, lighting, wiring, chassis, drawbar, ramps, latches and hydraulic systems as part of safety-focused inspection scope.
How often should work trailers be inspected or serviced?
Inspection frequency depends on load, distance, road conditions and business reliance. A trailer used daily for trade, farm, landscaping or construction work should be checked more often than a light domestic trailer used a few weekends each year.
There is no single interval that fits every trailer. Usage matters more than age alone. A two-year-old trailer carrying mini loaders on rough sites may need more attention than a ten-year-old household trailer that only carries garden waste twice a year.
Suggested inspection rhythm
Trailer use | Owner check | Workshop inspection / servicing |
Occasional household use | Before every trip | At least annually or before a major trip |
Regular tradie use | Daily or weekly depending on load | Every 6 to 12 months, or sooner if faults appear |
Landscaping and garden maintenance | Before loaded runs | Before peak season and after heavy tipper use |
Farm and rural property use | Before road towing | After rough paddock use, storage or heavy loads |
Plant or machinery transport | Before every machine move | Scheduled checks based on machine weight and frequency |
Car trailer or vehicle transport | Before every trip | Before long-distance transport or after hard use |
Commercial trailer fleet | Recorded checks | Planned maintenance schedule to reduce downtime |
Stored trailer | Before reuse | Before towing after months unused |
For business owners, the best inspection interval is the one that prevents downtime. Missed jobs, recovery fees, damaged tools, delayed deliveries and emergency repairs often cost more than a planned workshop check.
Halco provides trailer servicing for brakes, bearings, lights, electrical repairs, welding, structural work and replacement components from its Warragul workshop. For operators managing multiple trailers, planned inspection records can also help identify repeated wear patterns across the fleet.
What warning signs mean you should stop towing?
Stop towing if the trailer pulls sideways, brakes unevenly, vibrates, clunks, overheats, shows cracked welds, has loose wheels, flickering lights, damaged tyres, leaking hydraulics or a coupling that does not lock confidently onto the tow ball.
Do not “just get it home” if the suspected fault could affect wheels, brakes, coupling, bearings, tyres, chassis or drawbar. A short distance can still be risky if the trailer is loaded or travelling at road speed.
Stop-and-assess warning signs
Warning sign | Possible cause | Safer response |
Hot hub | Bearing or brake issue | Stop, let it cool and arrange assessment |
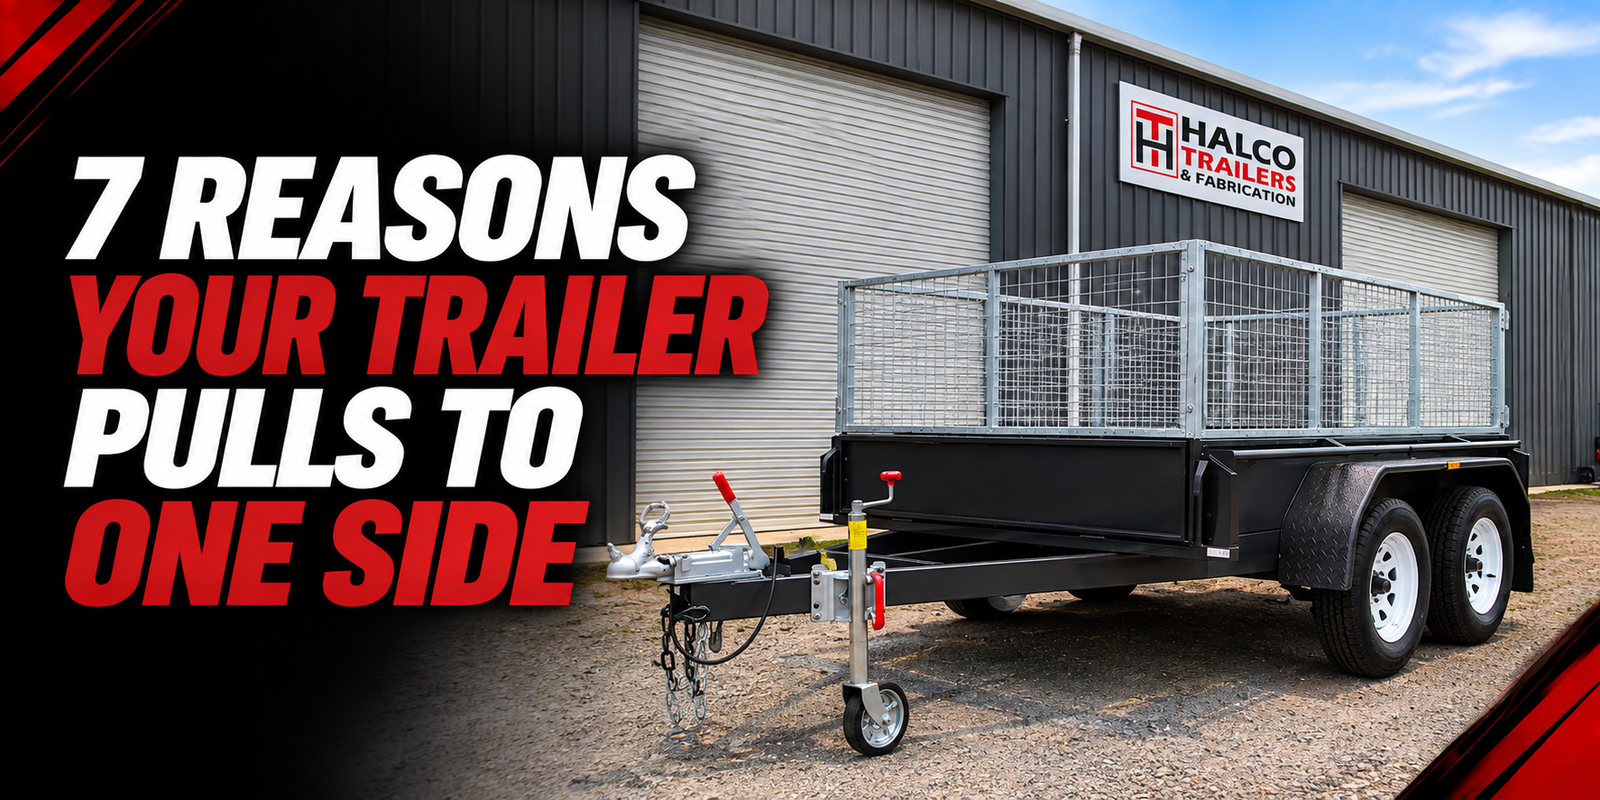
Trailer pulls to one side | Brake, tyre, axle or load issue | Do not continue heavy towing |
Flickering lights | Plug, earth, wiring or lamp fault | Repair before road use |
Grinding or rumbling | Bearing or hub wear | Avoid further towing |
Cracked chassis or drawbar | Fatigue, overload or impact | Arrange professional inspection |
Brakes grabbing | Adjustment, wiring or mechanical fault | Book workshop assessment |
Loose coupling feel | Worn or incorrect coupling setup | Stop until connection is confirmed |
Hydraulic leakage | Hose, fitting, ram or pump issue | Do not operate tipper under load |
If the fault is minor and the trailer is empty, a workshop may advise whether it can be moved safely. If the fault could affect control, organise recovery or transport instead of towing it on public roads.
For structural damage, brake faults or repeated towing problems, Halco’s trailer repair support is the safer pathway than guessing at the roadside.
What should buyers check before purchasing a used trailer?
Before buying a used trailer, inspect the identity details, compliance plate, registration status, chassis, drawbar, coupling, brakes, bearings, tyres, lights, floor, ramps, welds and modifications. Written service history and repair invoices reduce guesswork for cautious buyers.
Used trailers can be good value, but only when you understand the repair risk. A cheap trailer with worn brakes, cracked welds, mismatched tyres, damaged lights and no records may become expensive quickly.
Used trailer buyer checklist
Check | What to look for |
Identity | VIN/chassis number, compliance plate and registration details match |
Ownership | Seller can provide clear proof of sale and history |
Chassis | No serious corrosion, bends, fresh cracks or poor repairs |
Drawbar | Straight, secure and free from fatigue cracks |
Coupling | Correct rating, positive lock and no excessive play |
Safety chains | Correct condition, attachment and rating |
Brakes | Working, even and suitable for the trailer weight |
Bearings | No rumble, play, heat or grease leakage |
Tyres | Matching, load-rated, good tread and no cracking |
Lights | Indicators, brake lights, tail lights and plate light work |
Floor and sides | No rot, fatigue, sharp edges or unsafe holes |
Ramps and latches | Secure, straight and suitable for the load |
Modifications | Any change should be explained and documented |
Repair records | Invoices show what has been maintained or replaced |
A used trailer should also be matched to the real job. A homeowner moving furniture has different needs from a landscaper carrying green waste, a contractor moving tools or a farmer hauling equipment. If the trailer does not suit the load, good condition alone will not make it the right buy.
If repair costs are likely to exceed value, compare Halco’s trailer range or current trailers for sale in Melbourne before committing to an old unit.
When should you use trailer servicing, trailer repair or replacement parts?
Use servicing for planned maintenance, repair for a known fault and parts when a worn component must be replaced. The safest pathway is to inspect first, confirm the cause, then choose the right workshop action.
Do not start with parts if you do not know the fault. Replacing a plug may not fix bad earth wiring. Replacing a tyre may not fix axle alignment. Repacking a bearing may not fix a damaged hub.
Service, repair or parts decision table
Situation | Best next step | Example |
Nothing is broken, but trailer works regularly | Servicing | Brakes adjusted, bearings checked, lights tested |
You can see or feel a fault | Repair inspection | Trailer pulls, brakes grab, lights flicker |
A component is worn, damaged or missing | Replacement part | New latch, plug, bearing, light or chain |
Multiple systems are affected | Full workshop assessment | Uneven tyres plus brake heat plus poor tracking |
Trailer was overloaded or impacted | Structural inspection | Bent drawbar, cracked weld, twisted ramp |
Electrical fault keeps returning | Diagnostic repair | Earth issue, wiring damage or plug mismatch |
Repeated breakdowns continue | Repair vs replacement review | Old commercial trailer with mounting repair costs |
Halco can assist with suitable trailer parts and installation where compatibility, workshop capability and component availability allow. Bring photos, dimensions, trailer details and identification information so the team can check the right component before ordering or fitting.
For lighting-specific problems, Halco’s trailer wiring content also supports owners who need to understand plugs, earth faults and basic light checks before booking repair work.
How much can trailer inspections and repairs cost in Australia?
Costs depend on trailer type, weight, access, fault severity, parts availability and whether dismantling is needed. A simple visual check may be modest, while brakes, bearings, suspension, wiring or structural repairs can cost more quickly.
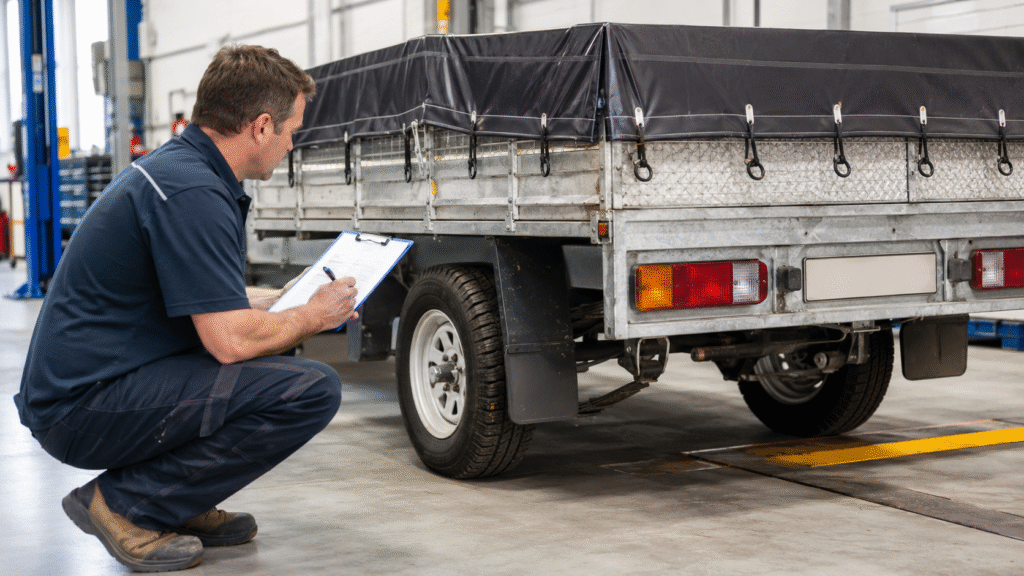
A basic workshop inspection is usually less expensive than emergency recovery, lost work or major damage caused by continuing to tow. But the final cost depends on what the inspection finds.
Cost factors to expect
Cost factor | Why it changes the price |
Trailer size and weight | Larger trailers take longer to inspect and handle |
Brake type | Electric, hydraulic and mechanical systems require different work |
Bearing condition | Cleaning, repacking, seals or full replacement may be needed |
Wiring access | Faults hidden inside chassis or body sections take longer |
Structural damage | Cracks and drawbar issues need careful assessment |
Parts availability | Some parts are standard; others must be matched or ordered |
Previous modifications | Non-standard work can require extra checking |
Commercial urgency | Fast turnaround may depend on workshop capacity |
For a tradie, farmer or small business owner, think beyond the invoice. A planned inspection before a busy period may protect customer bookings, machinery moves, farm jobs and staff time. That is often where trailer maintenance pays for itself.
Conclusion
Use this trailer inspection guide as a practical decision tool: inspect before road use, book professional help when faults appear and do not treat roadworthy, servicing and repair as the same thing.
For Victorian trailer owners, Halco Trailers can inspect, service and repair work trailers from its Warragul workshop, supporting Melbourne, Gippsland and regional customers. If your trailer is towing poorly, wearing tyres unevenly or showing brake, bearing, lighting or structural issues, book an inspection before the next loaded trip.